Cream Carton Cottages

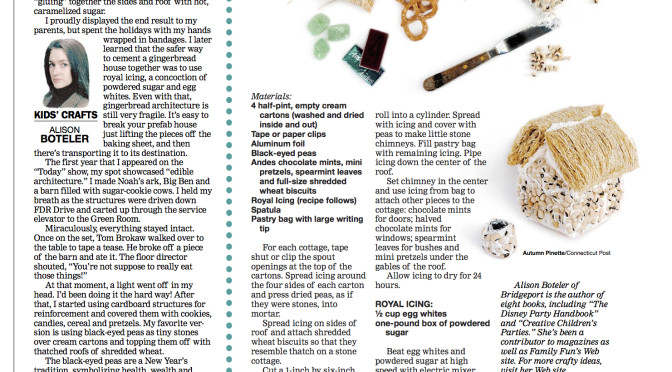
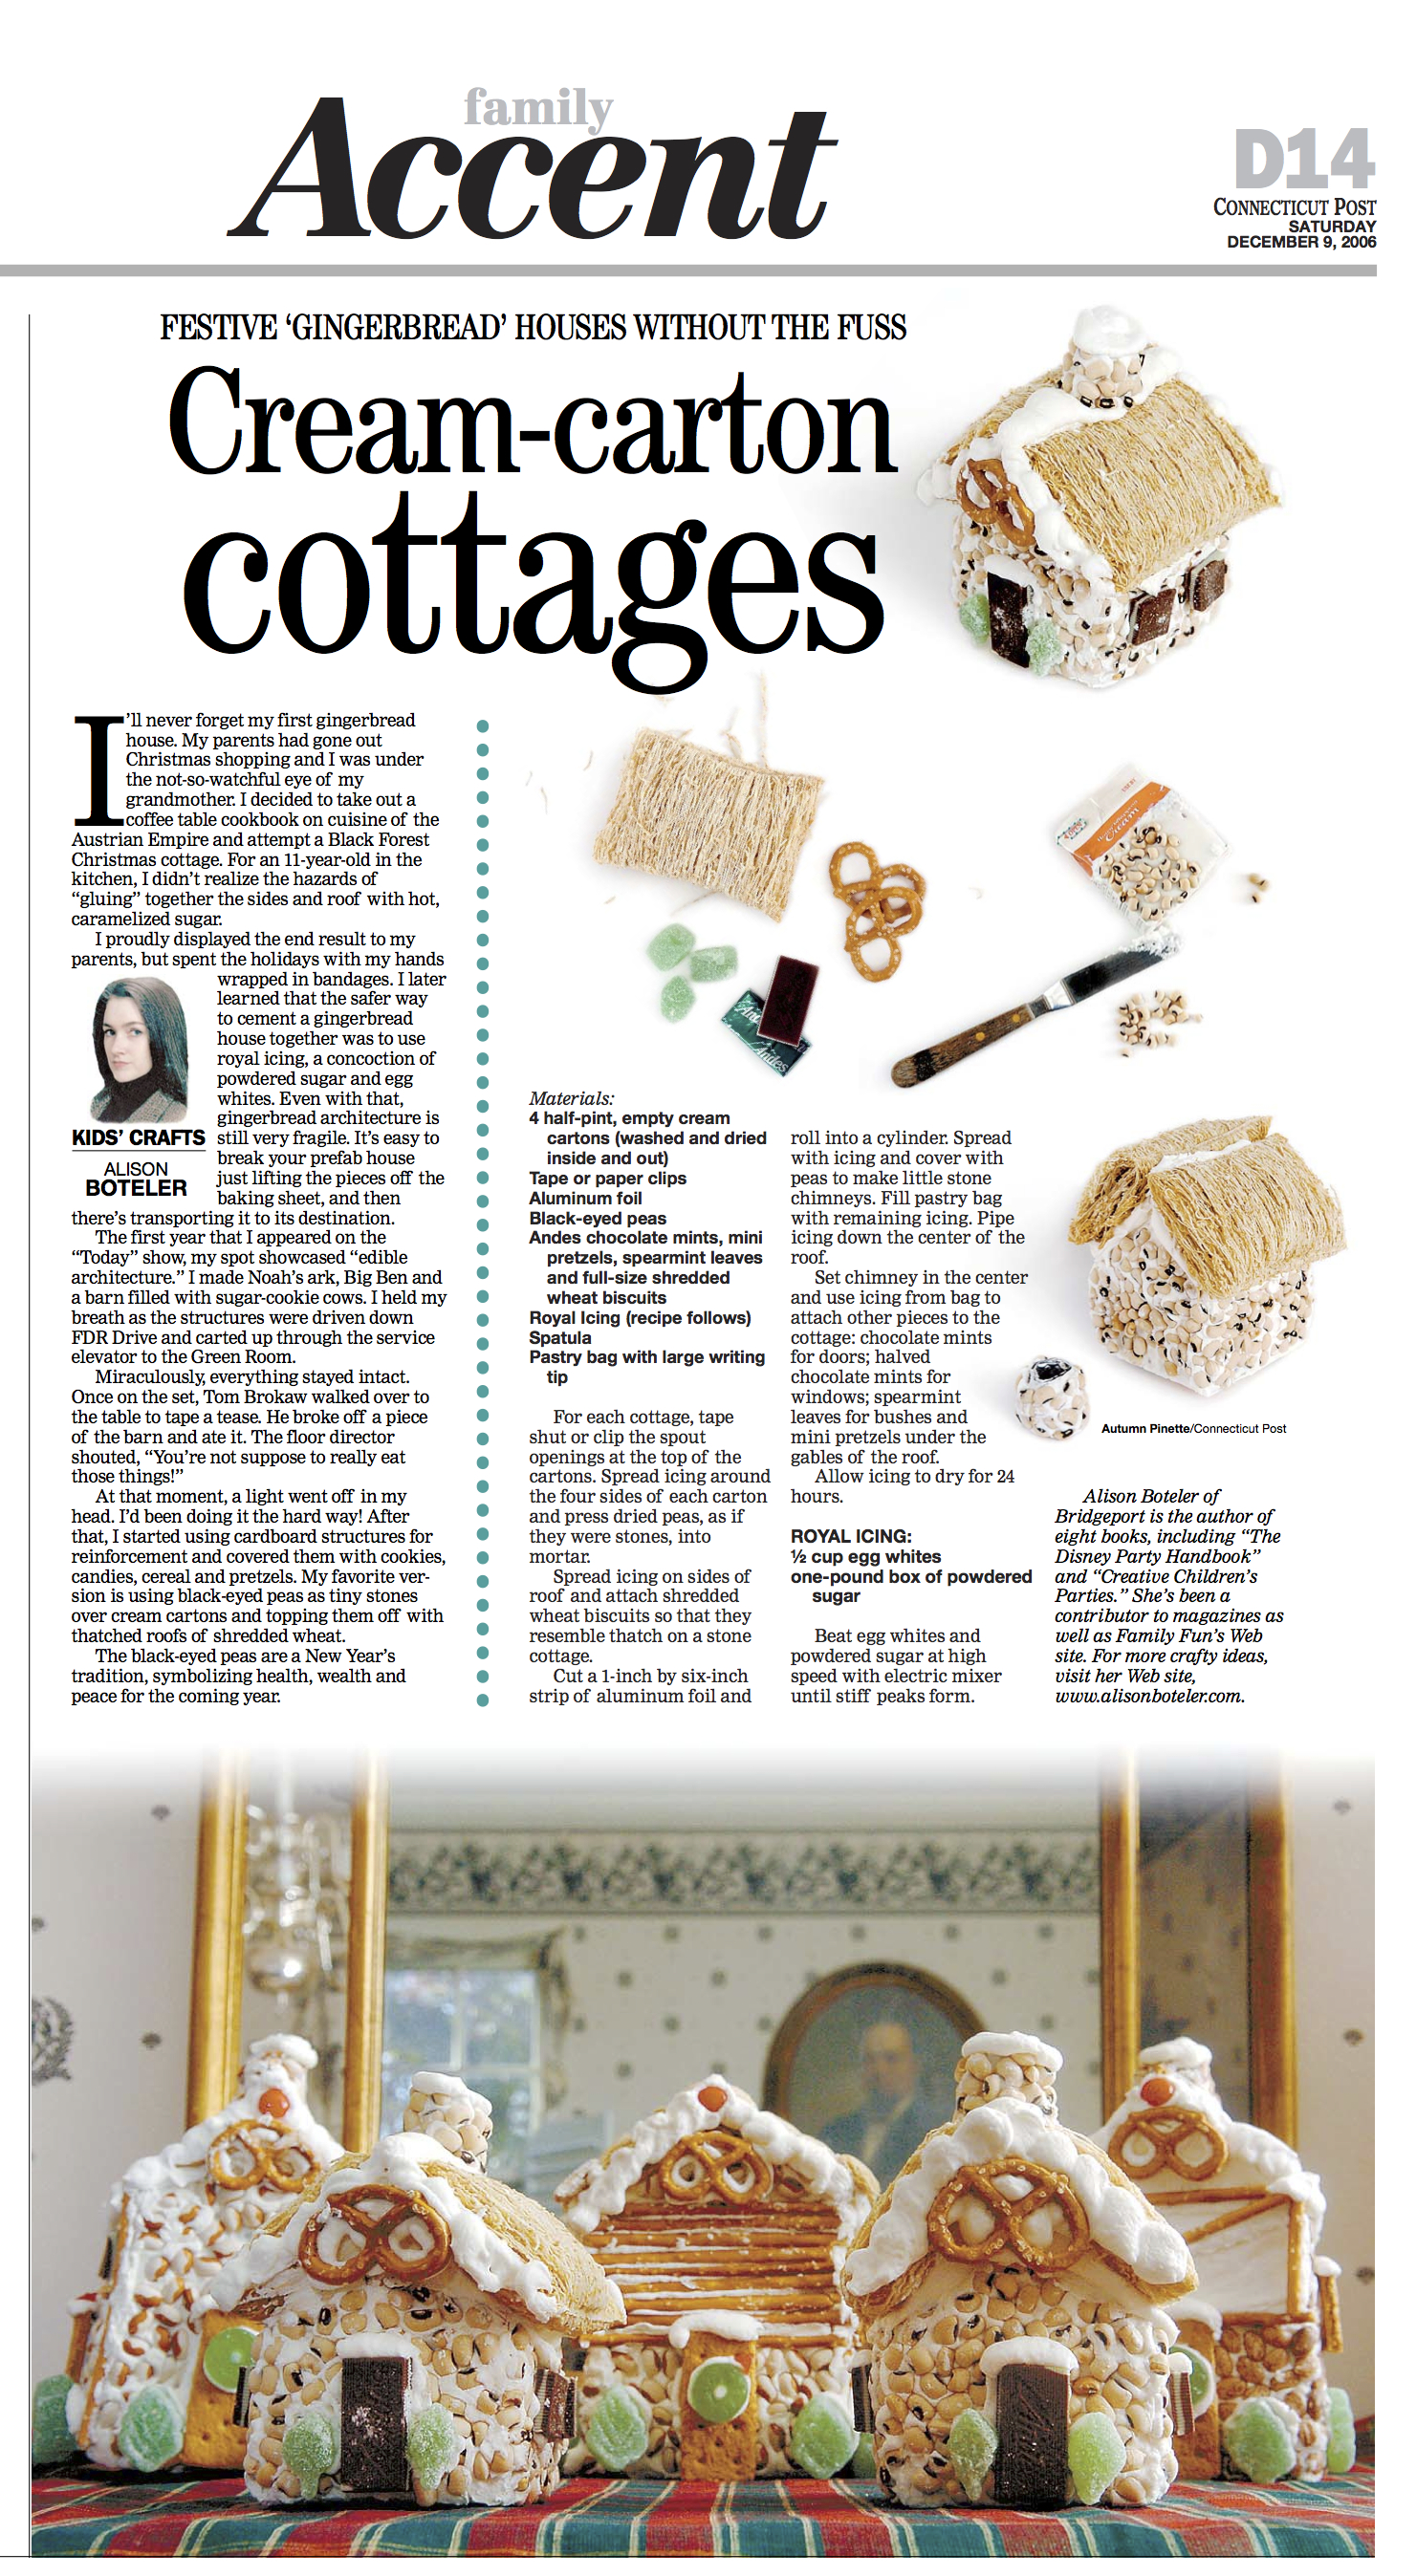
We all know construction projects are full of set backs and stress, especially when you are building  gingerbread houses! I’m all about shortcuts whenever something ceases to be fun. No more cracked walls or collapsing roofs around here. We make “holiday houses on a base of cream cartons “using egg white icing (a.k.a royal icing) and black eyed peas for stones to bring good luck in the new year. Just add some Shredded Wheat for roofs, pretzels, candy and imagination.

This project is from a kid’s column I wrote for Connecticut Post.

(For easy reading I’ve provided the transcript below.)


12 Dec:cream carton

Festive “Gingerbread Houses” without the Fuss 

CREAM CARTON COTTAGES

I’ll never forget my first gingerbread house. My parents had gone out Christmas shopping and I was under the not-so-watchful eye of my grandmother. I decided to take out a coffee table cookbook on Cuisine of the Austrian Empire and attempt a Black Forest Christmas cottage. For an 11 year -old in the kitchen, I didn’t realize the hazards of “gluing” together the sides and roof with hot, caramelized sugar. I proudly displayed the end result to my parents but spent the holidays with my hands wrapped in bandages. I later learned that the safer way to cement a gingerbread house together was to use royal icing, a concoction of powdered sugar and egg whites. Even with that, gingerbread architecture is still very fragile. It’s easy to break your prefab house just lifting the pieces off of the baking sheet and then there’s transporting it to it’s destination.

The first year I appeared on the “Today” show, my spot showcased “edible architecture”. I made Noah’s Arc, Big Ben and a barn filled with sugar cookie cows. I held my breath as the structures were driven down the FDR drive and carted up through the service elevator to the green room. Miraculously, everything stayed intact. Once on the set, Tom Brokaw walked over to the table to tape a tease. He broke off a piece of the barn and ate it. The floor director shouted “You’re not suppose to really eat those things!” At that moment, a light went off in my head. I’d been doing it the hard way! After that, I started using cardboard structures for reinforcement and covered them with cookies, candies, cereal and pretzels. My favorite version is using black eyed peas as tiny stones over cream cartons and topping them off with thatched roofs of shredded wheat. The black eyed peas are a New Year’s tradition, symbolizing health, wealth and peace for the coming year.

Materials:
4 half pint, empty cream cartons (washed and dried inside and out).
tape or paper clips
aluminum foil
black eyed peas
Andes chocolates, mini pretzels, spearmint leaves and Shredded Wheat biscuits
Royal Icing (recipe follows)
spatula, pastry bag with large writing tip
For each cottage, Tape shut or clip the openings at the top of cartons. Spread icing around the four sides of each carton and press dried peas, as if they were stones, into mortar. Spread icing on sides of roof and attach Shredded Wheat biscuits so that they resemble thatch on a stone cottage. Cut a 1” x 6” strip of aluminum foil and roll into a cylinder. Spread with icing and cover with peas to make little stone chimneys. Fill pastry bag with remaining icing. Pipe icing down the center of the roof. Set chimney in the center and use icing from bag to attach other pieces to the cottage: chocolate mints for doors, halved chocolate mints for windows, spearmint leaves for bushes and mini pretzels under the gables of the roof. Allow icing to dry 24 hours.

ROYAL ICING:
1/2 cup egg whites
1, 1lb box of powdered sugar

Beat egg whites and powdered sugar at high speed with electric mixer until stiff peaks form.
 

A Few of My Favorite Things: Part 1

(One of my goals with this blog was not only sharing recipes and craft projects but bringing you products and places that deserve a shout out! This is the first installment of many to come.)

TJ’s AND DR MIKES TEAM UP FOR DESSERT

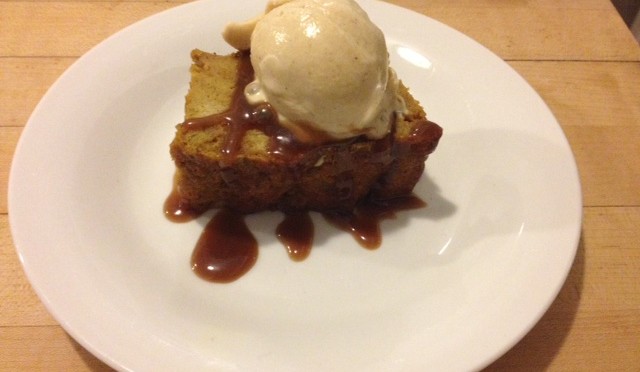
photo 1


Yesterday was one of those days when 1+1+1=10! I’m talking about dessert last night. It was one of those lazy meals when you put two products together, add your own sauce and the end result is magic in your mouth.

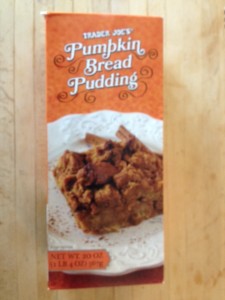
It all started last month as I began feeling really under the weather  about a week before Thanksgiving. Just in case I didn’t feel like baking, I bought Trader Joe’s Pumpkin Bread Pudding (a frozen, ready to bake dessert). I stashed it in the freezer and quickly forgot about it. As my strength came back,  and I started cooking up a storm the night before Thanksgiving and never needed the stand-by dessert. Then a friend brought me a pint of pumpkin  ice cream from Dr Mike’s Ice Cream in Monroe CT. I still had praline sauce left over from our pumpkin cheesecake (see  November 2014 posts or recipe below) so I decided to serve TJ’s pumpkin bread pudding with Dr Mike’s pumpkin ice cream and my homemade praline sauce. Such a delicious combination I wouldn’t mind serving it to company in the middle of July!

photo 2

Dr Mikes Monroe


For Praline Sauce:

2 tbs butter

1/2 cup firmly packed dark brown sugar

1 tsp flour

1/4 cup heavy cream

1 Tbs maple syrup and 1 Tbs bourbon

1 tsp vanilla

In a small saucepan, melt butter and blend in brown sugar and flour. Add heavy cream, maple syrup bourbon and vanilla. Bring just to a boil, stirring constantly. Remove from heat and serve warm to room temperature.

WHY PIE?

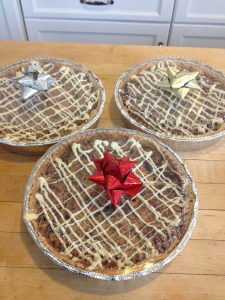
butcher block pies

When it comes to holiday baking, I find the gifting of pies gives the most bang for the buck as far as time spent achieving the “Yummm Factor”. You know how it is: You spend a couple days rolling, cutting, baking and decorating dozens and dozens of Christmas cookies to come up with an attractive assortment. There’s flour all over your counter and you’re getting carpal tunnel from repetitive motion. Then you bring your cookies to a holiday dinner and the hostess sits them right next to three other boxes of homemade cookies. Since the invention of refrigerated pie crust, there’s a reason for the expression “easy as pie “ ! (I like making my own from scratch for many occasions but not when I’m time stressed at the holidays.) In a few hours you can bake two, four or six pies for presents. Best of all, when you carry it through the door, it will get noticed and most likely end up on the dining room table for the grand finale!

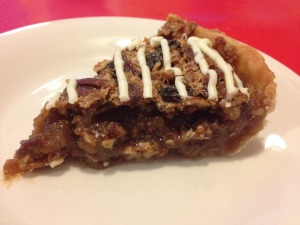
WHITE CHOCOLATE PECAN CHRISTMAS PIES

Ingredients:

2, 8”aluminum cake pans with clear plastic covers
(these make more stable pies than aluminum pie pans)


Makes 2 pies

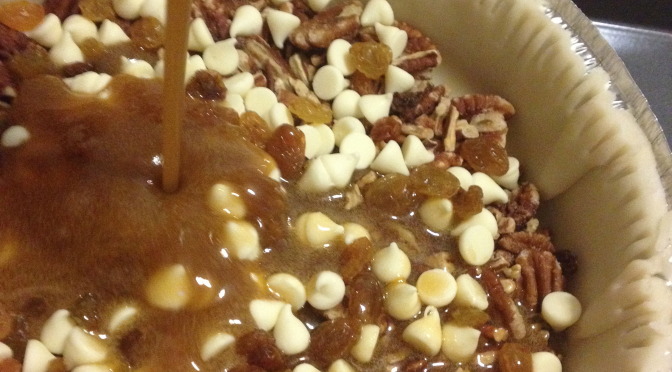
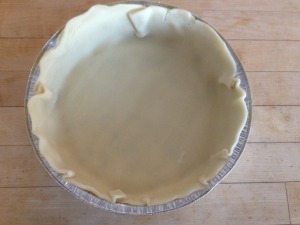
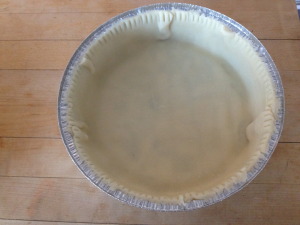
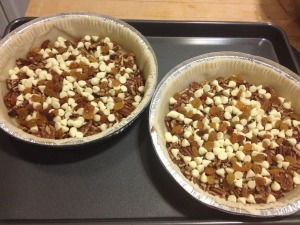
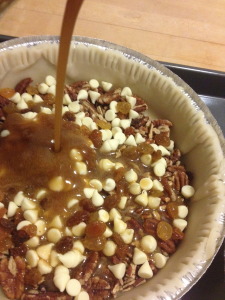
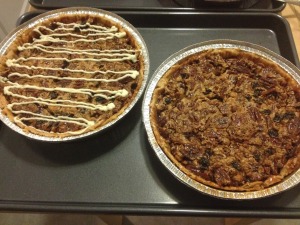
Allow pie crusts to soften for 30 minutes at room temperature. Unroll and line pastry into cake pans taking care to ease pastry into bottom and sides so as not to stretch it. Trim crust evenly around edge of pan and score edges with tines of a fork. Place pie shells on a large baking sheet. For each pie: Spread 1 1/2 cups pecans in the pie shell and top with 1/2 cup white chocolate chips and 1/3 cup raisins. In a large bowl with wire whisk, beat together, light brown sugar, dark brown sugar, butter, corn syrup, eggs and vanilla extract until smooth. Transfer filling to a large glass measuring cup and pour filling evenly into pie shells. Preheat oven to 350 and bake on lower rack of oven for 45 minutes. Cool completely and drizzle with white chocolate glaze.

Ingredients:

2, 8”aluminum cake pans with clear plastic covers
(these make more stable pies than aluminum pie pans)

1 box ready to bake pie crust rolls.
3 cups lightly toasted pecans*
1 cup white chocolate chips
2/3 cup golden raisins
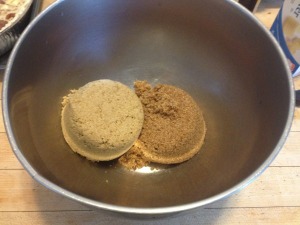
1 cup light brown sugar
1 cup dark brown sugar
(note the blend of light and dark brown sugars gives the right caramel color)
1/2 cup (1 stick) unsalted butter, melted
1 bottle (2 cups) light corn syrup
6 large eggs
1 Tbs vanilla extract
White Chocolate Glaze

For White Chocolate Glaze: Melt 1/2 cup white chocolate chips with 1 Tbs vegetable shortening in microwave about 30 seconds. Stir until smooth.


crust in pancrimped crustchips & nutsbrown sugarsstream of caramelIMG_1466sliced pie

Start Your Own Tiny Tree Farm

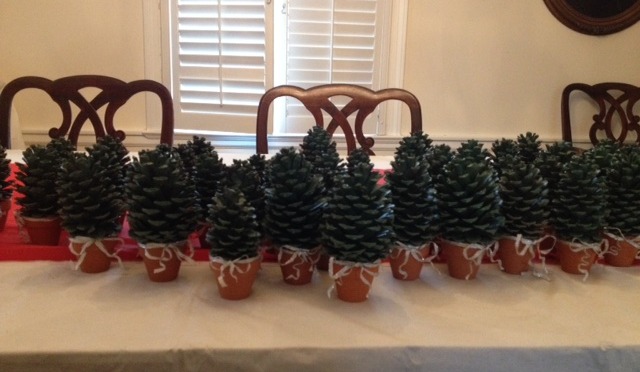
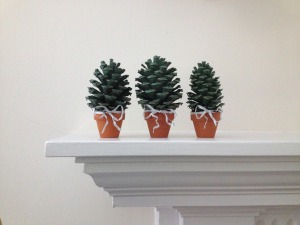
I’ve always felt really “green” whenever I’ve bought a live tree in a pot around the holidays. I don’t have to feel guilty about harvesting a perfectly good source of wood, way before it’s prime, just for my family’s entertainment. (OK– I don’t really feel that guilty about having a  cut Christmas Tree in my living room but it seems so much better knowing I don’t have to put it out of it’s misery when the needles start to fall.) Why not make your own mini live trees from pinecones which are really nothing more than baby trees! Talk about the circle of life. These make unique mantle decor or accent to place settings at the dining room table. Wrap them up and they make great hostess gifts to bring to your next holiday party.

pinecones on mantel


Materials:

15 mid-sized unscented pinecones (bagged pinecones frequently come in 15 count size)

Large baking sheet

Aluminum foil

1 can sage green colored  satin finish spray paint

15 mini terra cotta pots – 1.5″

High temp hot glue gun

7 1/2 yards 1/4″ silver wired ribbon

Scissors

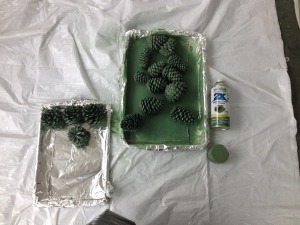
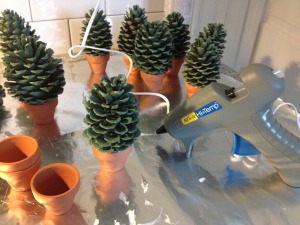
Arrange pinecones (well spaced) on baking sheet that has been completely covered (top and sides) with aluminum foil. Spray well with one coat of green paint to cover all sides. Allow to dry 2 hours.

Come back and spray second coat, taking care to reposition pinecones to cover any spots missed by paint. Allow to dry 24 hours.

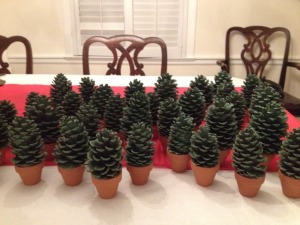
Taking caution not to touch actual hot glue. Pipe a rim around the edge of each terra cotta pot, one pot at a time. Immediately top with a pine cone and apply gentle pressure. (Twisting the pinecone slightly into the pot helps make better surface contact as the glue hardens.) Be sure to work quickly after applying hot glue. If glue becomes too hardened to adhere to the pinecone, peel the glue off with a knife and try again.

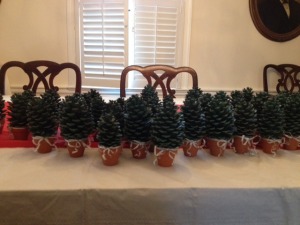
When all trees have been glued into pots, cut ribbon into 15″ lengths. Carefully tie ribbon around each pot at the base of the pinecone, taking care to cover the hot glue seam as much as possible. Tie ribbon ends into a bow.

sprayed pinecones trees and hot glue gun


trees across table


tree farm with bows

Tis The Season For Silver Bells

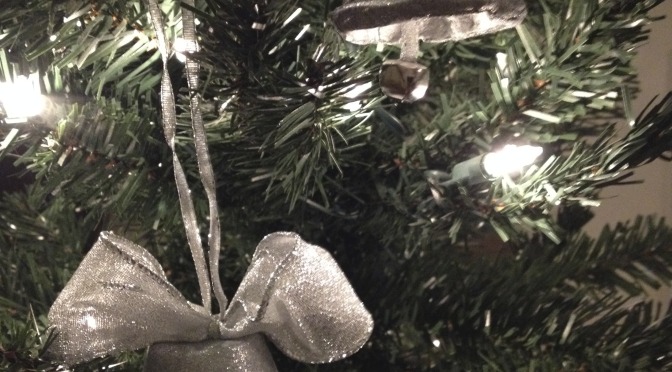
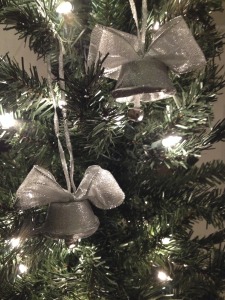
“In the air there’s a feeling of Christmas… Soon it will be Christmas Day!” Maybe that should be your cue that there’s still time to trim your tree with some hand made silver bells. The materials are really simple and so is the technique. These are the kind of ornaments you’ll enjoy pulling out year after year or giving as gifts to friends and family. The bells are made out of a durable, air hardening clay, trimmed with gossamer silver wired ribbon. I was tying these together the other night while listening to Jimmy Stewart in “It’s a Wonderful Life” . I just couldn’t resist jingling away when the classic line came on : “Every time a bell rings, an angel gets his wings”.

bells on tree


Materials:
1, 1.2 oz package of DAS white air hardening modeling clay
2 mini muffin trays (12 cups each)
Plastic straw
1 can chrome spray paint
1 can silver glitter spray paint
Aluminum foil
15 yards, 1/4” silver wired ribbon
8 yards 1-1/2″ silver wired ribbon
24 jingle bells
8 silver glitter pipe cleaners
Scissors, yardstick

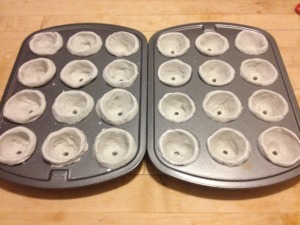
Divide clay into 24 equal sections and roll into balls. Place each ball into a muffin cup and press into sides with a hollow spot in the middle (similar to forming tart shells). Use straw to pierce a hole in the bottom of each clay cup. Allow to air dry for at least 3 days. Carefully twist clay cups out of muffin cups and place on a tray to dry another 24 hours.

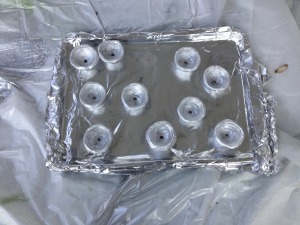
Cover two baking sheets with foil. Place clay cups open side up on foil. Spray with chrome spray paint and allow to dry. Turn over on other side foil and spray with silver glitter paint and allow to dry.

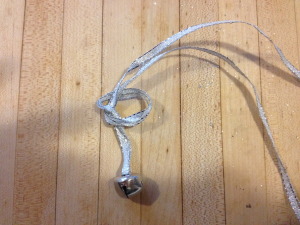
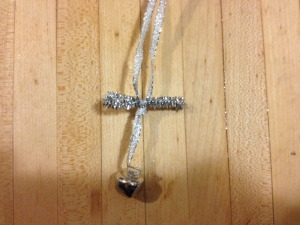
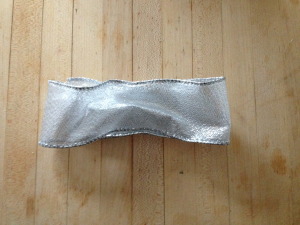
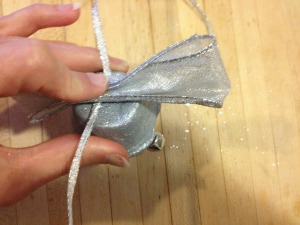
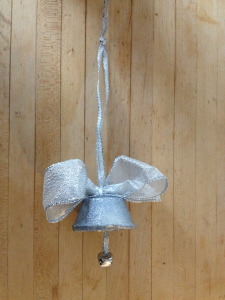
Cut 1/4 ribbon into 24, 22” lengths. Cut 1- 1/2” ribbon into 24, 12” lengths. Cut pipe cleaners into quarters. For each bell: String bell on to 1/4” ribbon and fold in half . Tie in a knot about 1- 1/2 “ from bell to form a clapper. Fold pipe cleaner section in half and tie just above firth knot. This will anchor the bell in place. Invert bell and string 1/4” ribbon ends through the hole. Fold a section of 1- 1/2 ” ribbon into thirds and gather on top of bell. Tie a knot around the wider ribbon with the narrow ribbon to hold in place. Tie a knot at the end of narrow ribbons to make a hanging loop. Shape wired ribbon to make a bow.

muffin tinsbells-inside sprayedbells tying knort for clapper
pipe cleaneer


bells-ribbon foldbells tying ribbon on topbells finished on board